

How to make a do-it-yourself Lego board for the kids at home
At the ages of nearly-5 and nearly-2, our two boys (nicknamed Barnacles and Kwazii, respectively), love playing with Lego. By that, we mean that Barnacles loves building and Kwazii loves destroying – annoying his elder brother to no end. We figure it’s just a stage which he will eventually outgrow.
Previously, we had bought a couple of Lego base plates for them to play with their Lego sets, so that they would have a base to build on. However, we soon found that they loved to place their base plates on our sofa – which basically left us with nowhere to sit. They also love playing at the free play tables at the Lego shops and at Toys ‘R’ Us when we go out as a family, which sparked the idea that maybe we could create a small DIY Lego table for them to play with at home.
Before we continue, we’ll say that we are definitely not crafty parents. In fact, our firstborn has to pester incessantly if he wants our help to do a craft project. Speaking of which, we still have a craft project that he has been asking us to do since we returned from the United Kingdom about two months ago – it’s still sitting on the shelf. Perhaps we’re just a little bit lazy to deal with cleaning up mess after the fun. However, we figured making a Lego table would involve minimal mess, and also create a long-term reward – in the form of independent play for them (and more free time for us) – or so we hope!
Things you’ll need for your Lego table:
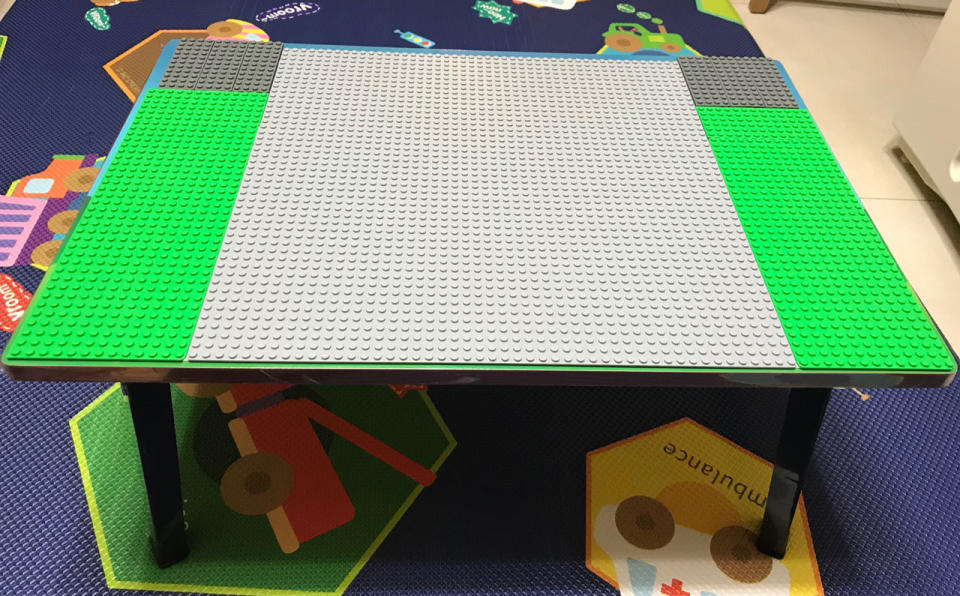
1. A small dedicated table. As we have limited floor space at home, we got a small table with foldable legs from NTUC at S$16.90. If you have the benefit of extra space, a larger one would definitely be ideal.
2. Lego baseplates. Do measure the size of the table first before deciding on the number and size of baseplates you will need. We would recommend buying original baseplates as we have heard that you are unable to build well on some of the cheaper ‘copies’.
3. A steel ruler, sharp penknife, and cutting board or cardboard backing. These will be used to cut the base plates down to size, with the backing to avoid making sharp knife marks on your cutting surface.
4. Foam double-sided tape. We got two 5-metre rolls from Popular at S$3.85 each. Alternatively, you can use spray or liquid adhesive.
5. A pair of scissors, and small plastic bag for all the rubbish.
Instructions:
1. Measure the table. For the small table we used, the large Lego baseplate fit nicely in the middle with an ideal height, with space on each side that we filled in with smaller cut-to-size baseplates.
2. Measure the size of the remaining space. Important: Join the Lego baseplates together before ascertaining the remaining size required – there should be a small gap between the plates. This will ensure that you can build Lego structures across baseplates.
3. When cutting the baseplate down to size, flip the baseplate over first before placing a steel ruler at the area to cut, then guide the sharp penknife to cut along the ruler firmly. Run the penknife along the plate firmly a few times, then bend the baseplate up and down. It should break apart neatly. Remember to put a cardboard backing underneath when cutting.
4. Join the baseplates back together with Lego pieces, then flip over and stick the foam double-sided tape on the underside. We stuck the double-sided tape across most areas of the underside, to ensure that there wouldn’t be any ‘hollow’ parts underneath.
5. Before removing the double-sided tape cover to stick the plates down, make several small marks on the table so that you know where to align the base plates – as once you release it, it can’t be removed from the table.
6. We had a small space remaining on the table and instead of cutting up another baseplate, we decided to cut a few strips of the Lego tape we had to fill the space. This tape will not allow you to build across baseplate to tape as it is slightly thicker, but it gave a slightly different texture and an ‘area’ for the kids to assemble their Lego figures, outside of the main building space.
7. You’re done!
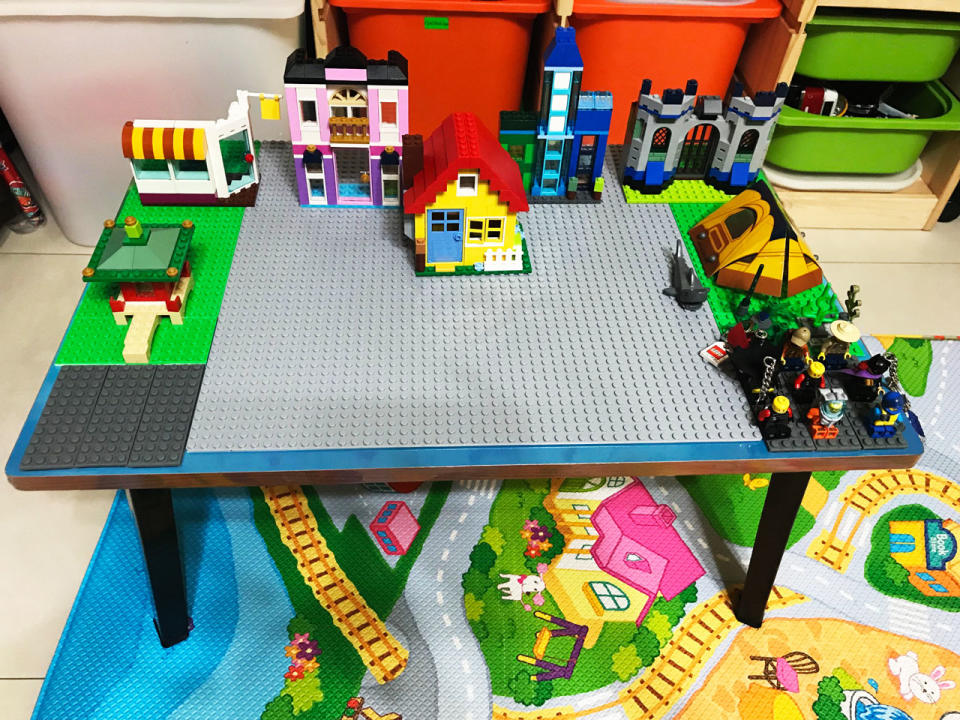
We also decided to purchase a medium-sized Lego building box, which we later realised is more value for money than the ‘themed’ Lego sets we had. The building box has six structures you can build (house, knight’s castle, shop, skyscraper, temple, hotel), compared with the ‘themed’ sets that contain one to two structures at most.
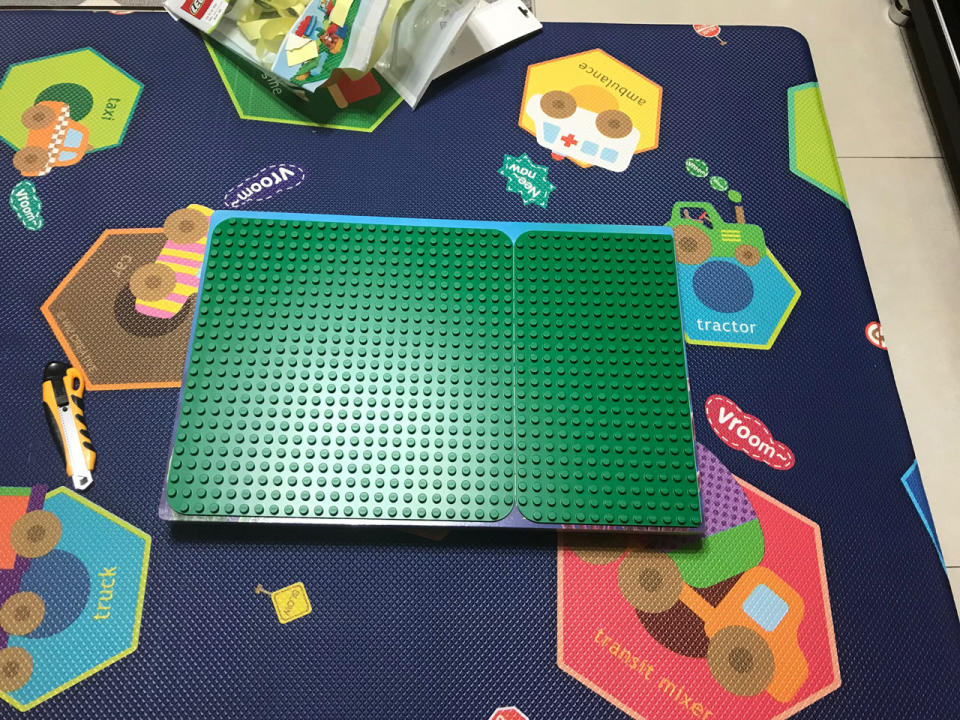
Needless to say, our kids are really enjoying their new toy. Barnacles liked it so much that we decided to build another table, this time with Duplo baseplates, as that is more suitable for Kwazii.
Happy building!
Mummy and Daddy Daycare are the pseudonyms of a Singaporean husband and wife who are raising two young boys aged four and one, nicknamed Barnacles and Kwazii from the children’s Octonauts series. Get into the minds of this couple who describe parenthood as a lifetime adventure – you are always learning something new! Whoever said parenting was a walk in the park?
Other articles by Mummy and Daddy Daycare:

