
The Definitive Lorestangir Location Guide For Senua’s Saga: Hellblade II
Senua’s Saga: Hellblade 2, Ninja Theory’s latest action-adventure narrative journey into the world of Pictish warrior Senua, features a linear, eight-hour trip through Iceland. Over the course of her journey, Senua receives lore lessons from her spiritual companion from the first game, Druth, via totems you can focus on. These lessons cover the story of Grettis saga from the 13th and 14th centuries, which parallels Senua’s journey very closely. It’s a fascinating tale to think about on multiple playthroughs of Senua’s Saga, and as an unlockable feature, finding all of the totems, or lorestangir, will grant you access to Druth as a narrator for the game. This guide covers the locations of all 18 lorestangir, or lorestones.
How to find Lorestangir totems
While you can simply follow what’s written here to find them all, I urge you to consider trying to find as many as you can naturally during gameplay. If you’ve already finished the game once, you’ll have access to different narrators to listen to on your second trip through the game. Finding the hidden lorestangir totems requires careful attention as you travel through Iceland, which I’d argue is essential for true immersion into this game.
Read More: Senua’s Saga: Hellblade II: The Kotaku Review
Here are a few tips when it comes to finding the lorestangir on your own: Once you start unlocking chapters in Hellblade 2’s chapter select, you can see how many Lorestangir totems are in each chapter and how many you’ve found. That takes some of the guesswork out of finding each totem. Also, if Senua has line of sight on a totem, you will see her head turn toward its location.
Read More: Playing Hellblade II Twice Is Essential
Also, consider using photo mode to move the camera around a bit to spot a totem. You can’t get a perfect bird’s eye view of everything, but it’s a bit more flexible than the camera ordinarily is. Plus, Hellblade II is rather generous with how far you can extend the camera…not like some other games (looking at you, FF7 Rebirth).
If you’re not sure whether you’ve come across a specific totem before, pay attention to the rune that activates. If it goes from dark to red, you’ve unlocked a new one.
Read More: Hellblade II Tips For Mastering The Game’s Visceral Combat
The rest of this guide assumes that you have played through Senua’s Saga. While it doesn’t contain heavy and direct spoilers, it does mention certain story sequences in passing to help you understand where you need to go to find each totem.

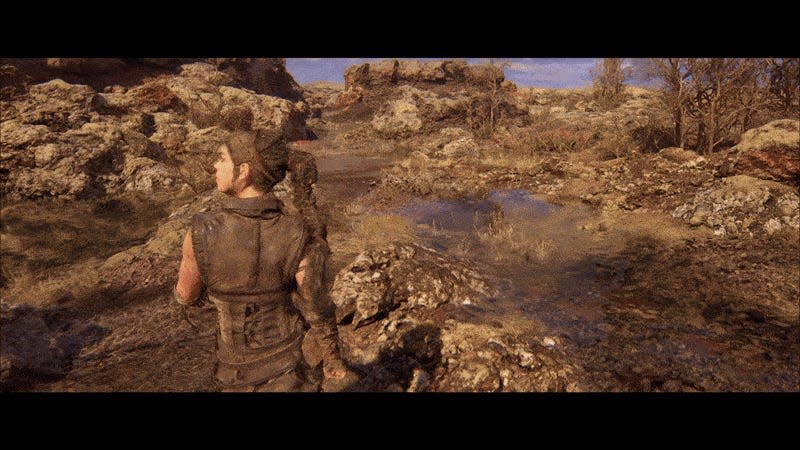
Lorestangir locations in Chapter 1: Reykjanesta
Chapter Select: Reykjanesta > Landfall
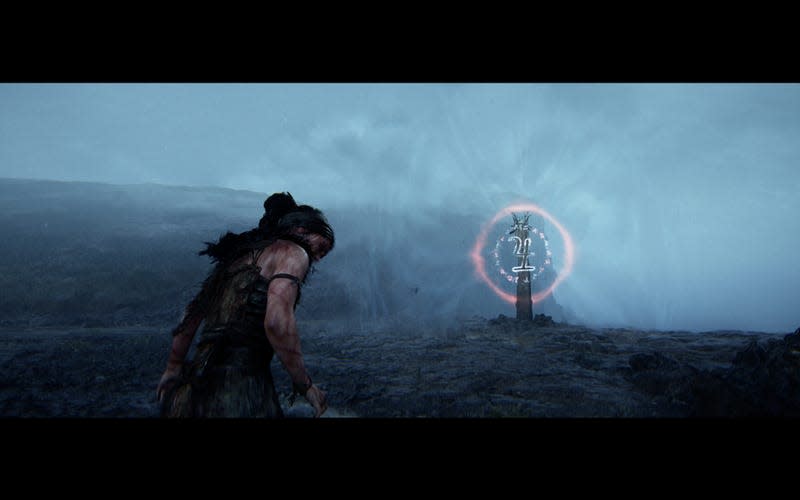
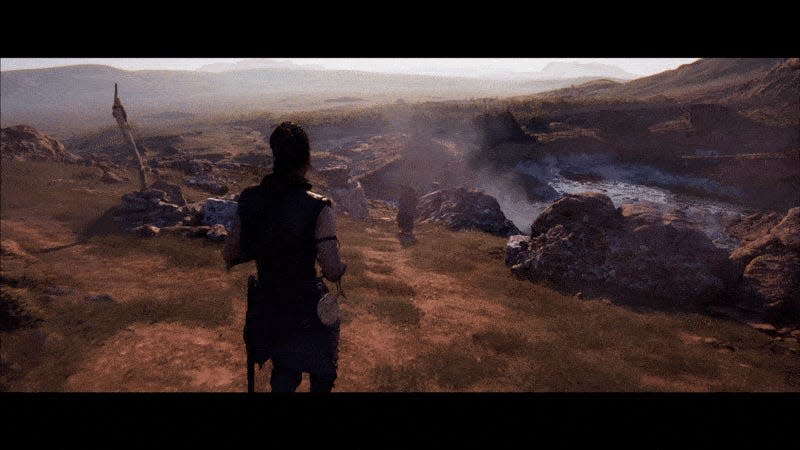
I sure hope you didn’t miss this one because it’s quite obvious. After Senua shimmies across a ledge just above the waves (her father’s voice tells her to look down) and after she spots the slaver’s flag, you should spot a stone that’s likely to pulse with a rune symbol almost as soon as you spot it. If not, get a bit closer and Focus in and you’ll hear our pal from Sacrifice, Druth!
Lorestangir locations in Chapter 2: Freyslaug
There are a total of four lorestangir totems in the Freyslaug chapter. These start the story of Grettir, which is told over the course of the game.
Freyslaug: Lorestangir 1
Chapter Select: Freyslaug > Freyslaug Sighted
The first lorestangir stone can be found at the start of this scenario. You’ll find it to the right of where Senua starts out in this chapter, near some huts and just in front of a fence.
Freyslaug: Lorestangir 2
Chapter Select: Freyslaug > Return Home
Oh look, the sequence that never fails to make me cry.
The second totem is found after you find Senua’s mirror and you battle the apparitions. Following the moment you cross over a bridge and cut through a large building with a hanging body, turn to your left and wrap around to the other side of the building. You’ll need to crawl underneath that wreckage to find this stone.
Freyslaug: Lorestangir 3
Chapter Select: Freyslaug > Draugar Ceremony
The third totem is found up a ladder just before you fight the Draugar to save Fargrimr. After Senua shimmies across a ledge and drops down, keep an eye on your left for a ladder. Climb up it and hop over a short stone wall to your right once up top. Follow the path to the lorestone.
Freyslaug: Lorestangir 4
Chapter Select: Freyslaug > Meeting the Stranger
The fourth totem can be found after freeing Fargrimr. As you’re walking with him following the Draugar sequence, past the broken bridge, look for a stick in the ground that indicates a fork in the road and take the left path that wraps around and looks over the village. You’ll find the lorestone there.
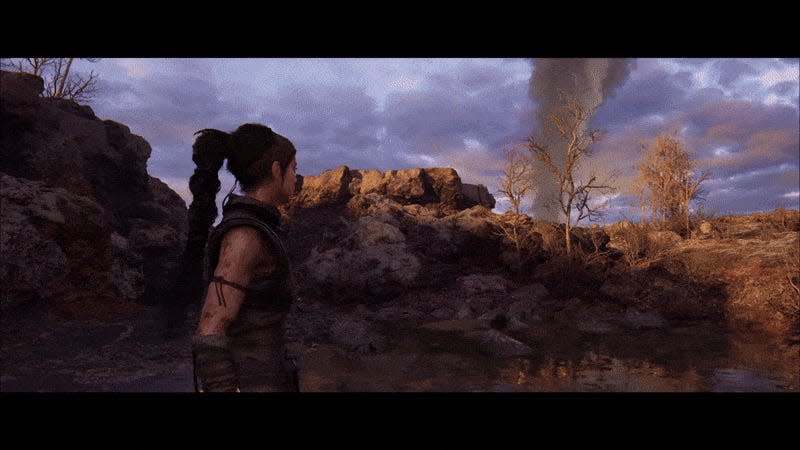
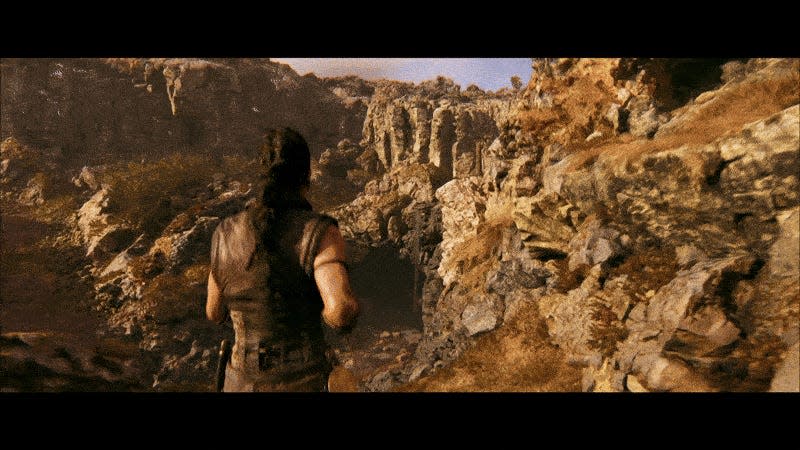
Lorestangir locations in Chapter 3: Raudholar
Raudholar has the most Lorestangir totems of any chapter and most of them are located during the “On the Hill” sequence. This makes it very tricky if you missed one, as you’ll have to go back to the beginning to replay the entire sequence.
Raudholar: Lorestangir 1
Chapter Select: Raudholar > Red Hills
Not too long after you start the chapter and chat with Fargrimr, you’ll spot a stick in the ground next to a rock with a circular sigil painted on it. Go to your left when you spot this and walk past the ruined house, veering to your left. You’ll come across the lorestangir totem here.
Raudholar: Lorestangir 2
Chapter Select: Raudholar > On the Hill
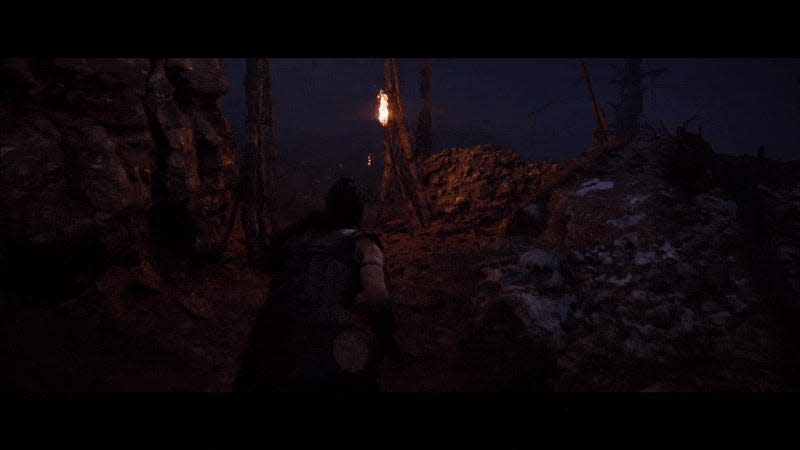
After the cutscene involving the torch and Senua’s chat with our pal Fargrimr, you’ll find yourself on a hill. To your right will be a large building where you can hear two other NPCs having a conversation. Walk around this building to the right and on the other side you’ll find a path up an incline where the second totem of Raudholar lies.
Raudholar: Lorestangir 3
Chapter Select: Raudholar > On the Hill
After leaving Fargrimr, descending down the hill, and finishing the first Hiddenfolk test, keep an eye out on your left-side for two ledges with white edges. The first you’ll see will be too tall and unclimbable. To the right of that ledge is a smaller one. Climb up that and search the area above to find this stone.
Raudholar: Lorestangir 4
Chapter Select: Raudholar > On the Hill
After passing the second Hiddenfolk test, keep following the trail to the point where the sun starts to dip below the horizon and the shadows elongate. On the left side of the path, you’ll see a space to squeeze through with a path that wraps around a puddle. You’ll find the totem at the end of this path.
Raudholar: Lorestangir 5
Chapter Select: Raudholar > On the Hill
This stone can be snagged right after Raudholar Lorestangir 4 as it’s roughly in the same area. Continue shortly past the section of the path now covered in shadows, but don’t go into the cave yet. Keep an eye on your right side for a crawlspace. Crawl under and follow the path. Once you hear one of the Furies say “over there, it’s coming from down there,” you’re too far. Don’t drop down at this point until you’ve collected totem 5.
Read More: How To Make The Most Of Hellblade II’s Graphics On PC
If you have gone on to the lake which opens up after the final Hiddenfolk trial of this chapter, you’ll have gone too far and will need to start from the beginning of “On the Hill” to go back and get Lorestangir 5.
Raudholar: Lorestangir 6
Chapter Select: Raudholar > Find the Hiddenfolk
The final Lorestangir stone of chapter three can be found in the alternate reality space of the Hiddenfolk’s final trial. You’ll find this one upside down near the third orb. You’ll be able to collect this after fighting off the surprise attack from the Draugar and constructing the pathway to collect the orb. You’ll spot it hanging upside down just past a ledge.
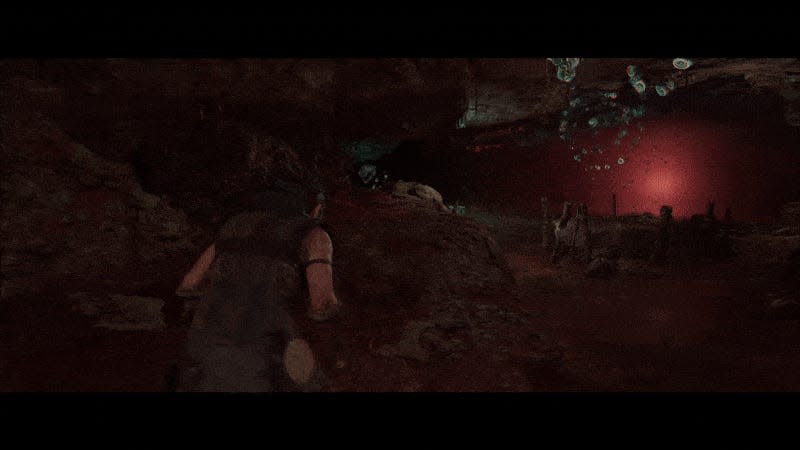
Lorestangir locations in Chapter 4: Huldufolk
There are three Lorestangir totems to snag in the narratively cryptic fourth chapter (just who does Senua give that sword to, I wonder?).
Huldufolk: Lorestangir 1
Chapter Select: Huldufolk > Enter the Caves
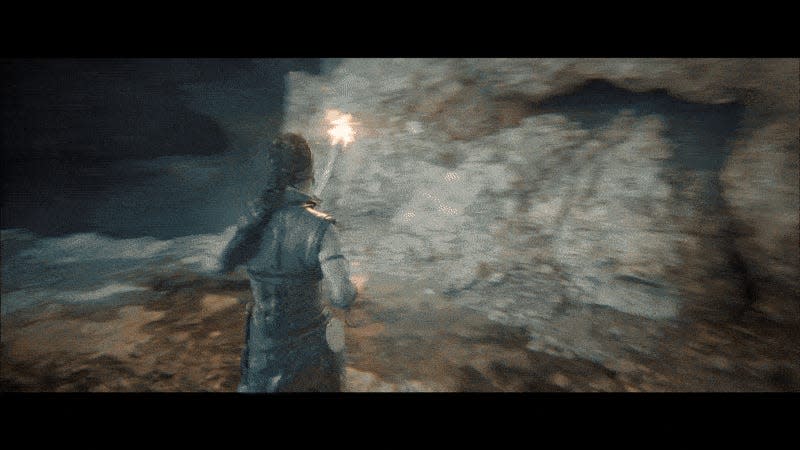
As you’re crawling through the cave at the start of this section, keep an eye on your right-hand side (you can catch a glimpse of the stone through a hole before you actually snag it). Right about when you drop down and the Furies warn you about not letting the torch die, continue sticking to your right. You’ll see a stone column that divides a fork in the path. Take the right-side around a bend, then up a short ledge, and you’ll find the first totem of chapter four.
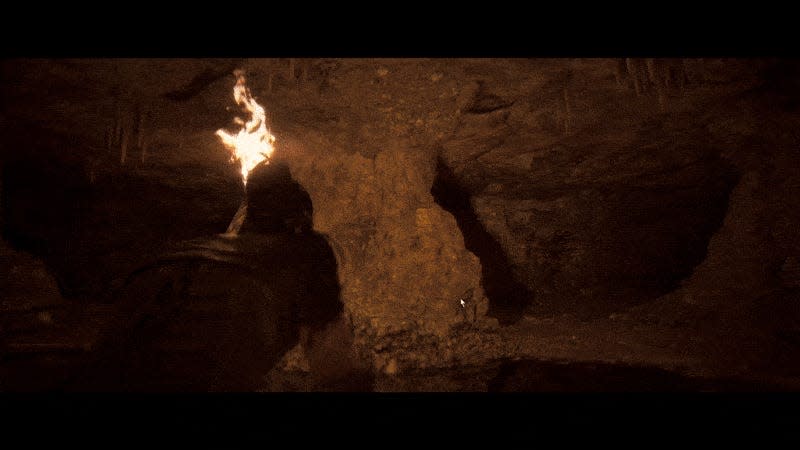
Huldufolk: Lorestangir 2
Chapter Select: Huldufolk > Enter the Caves
Right after you finish the puzzle involving the mini-waterfall that puts out Senua’s torch and forces you to transfer flame from one side to the other to materialize the bridge, follow the path across the bridge, crawl through the hole and look out on your right side to spot the totem. You’ll need to drop off a ledge and walk across a short bridge to get close enough to activate it.
Huldufolk: Lorestangir 3
Chapter Select: Huldufolk > Act of Sacrifice
This is another easy-to-miss totem. You’ll need to play through the entire sequence following Senua’s surrender of her blade until you get to a more open place with floating rocks, not shrouded in darkness, and without any threats. Stick to your right side, going as far right as you can until you turn around a short hallway. There you’ll find the final stone of this chapter.
Lorestangir locations in Chapter 5: Bardarvik
Bardarvik contains four totems which are relatively easy to find. The last one is likely the hardest given the intense rain and poor visibility.
Bardarvik: Lorestangir 1
Chapter Select: Bardarvik > To the Sea
The first lorestone of the Bardavik chapter can be found shortly after Fargrimr and Thorgestr vanish as Senua seemingly slips into another state of reality where the area around her is bathed in sunlight. Follow the path and as you hear the omniscient voice tell Senua to “drink deep,” start looking out for your left side. You’ll walk down across a river and then up an incline. If you look up to your right, you’ll see the rear-side of the totem on a ledge.
Before you continue past the incline toward the sun, wrap around to your right past a stone to find a path that takes you back to the waterfall pouring water into the river. Follow the river to the ledge and focus on the totem.
Bardarvik: Lorestangir 2
Chapter Select: Bardarvik > Sjavarrisi
Shortly after squeezing through the crack while Astridr asks Senua about her family, followed by Astridr telling Senua how much she misses her family, keep an eye on your right for a path that’ll lead you to this totem.
Bardarvik: Lorestangir 3
Chapter Select: Bardarvik > Another Question
You’ll find the second stone during the rune puzzle on the shore. After collecting the central, Y-shaped part of the rune to unlock the way forward and progress the story, continue until you see one of the reality-shifting liquid orbs, a pole with a sail attached blowing in the wind, a piece of a wrecked ship, and an opening covered in glowing blue/green particles. Walk through the particles and then squeeze through a crack and follow the path to the right side to snag the second totem of Bardarvik.
Bardarvik: Lorestangir 4
Chapter Select: Bardarvik > Another Question
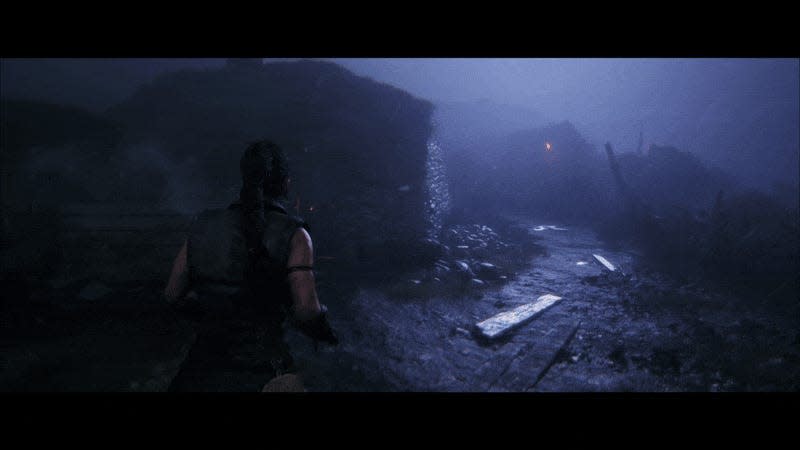
The final lorestangir stone of Senua’s Saga can be found after progressing through the underwater segment where you learn the past of Sjavarissi, the sea giant. You’ll find yourself walking through the village during a torrential rainstorm. Stick to your left side and shortly after you see the giant, you’ll have an opportunity to walk up to your left through some stone walls where you’ll find the final totem of the game.
Once you’ve focused on each stone in the game, you’ll be able to play through it again with Druth as your narrator, listen to all of Grettir’s story, and have words and tales to take refuge in when it comes to contemplating the paths we walk.
.

