
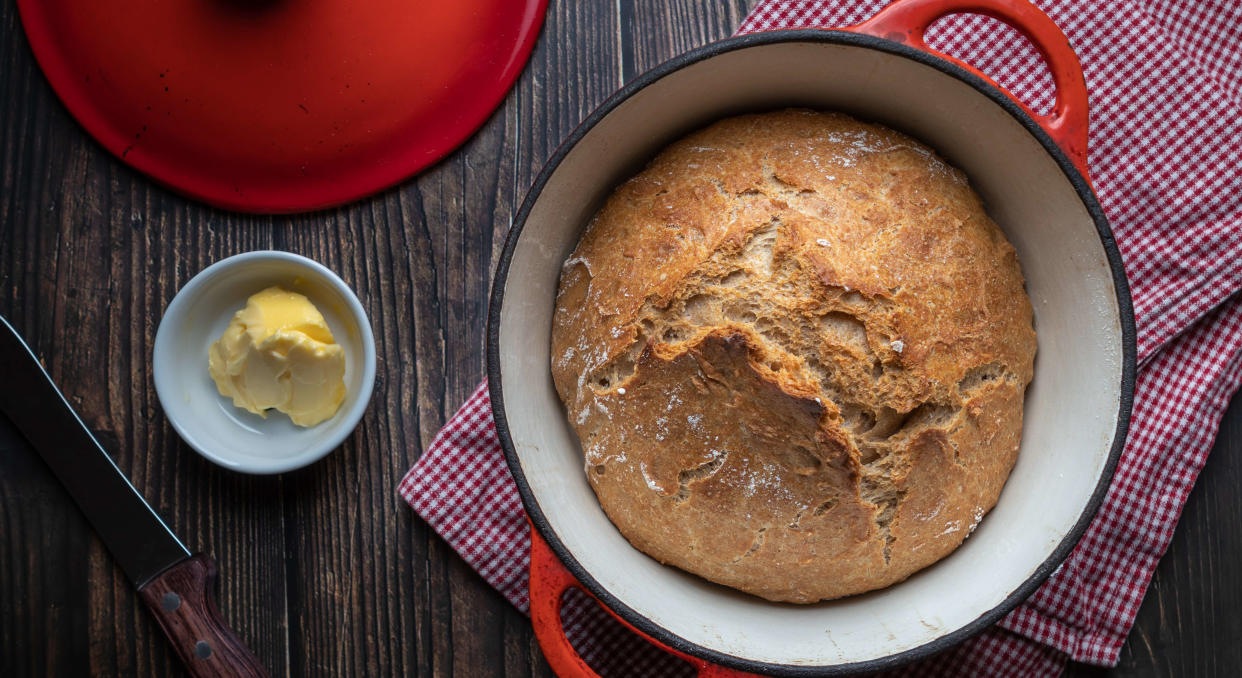
I made this easy no-knead bread recipe in a Dutch oven — and it tastes delicious
No-knead bread is a minimalist bread making method that took the world by storm in 2006, when the technique, developed by Jim Lahey, was widely publicized in an article in the New York Times.
Although, it actually became popular with British home-bakers back in 1944, when food writer, Doris Grant published a wartime book, Your Daily Bread.
The no-knead bread method allows people to make excellent bread at home with very little effort and has encouraged even the most hardened of non-bakers to give it a go in their own kitchens.
But, despite the high acclaim, I must admit to being a bit skeptical when I was asked to make a loaf of no-knead bread using a Dutch oven. Surely, by missing the kneading process the dough would be heavy and flat, and inedible? But I was proved wrong.
Here I take you through the process of why no-knead bread works and a step-by-step guide on how I made my first loaf in a Dutch oven, with a few extra tips based on what I learned along the way.
How does no-knead bread work?
The no-knead technique eliminates the normal kneading process, but to compensate it incorporates a much longer rise time. This allows the dough’s gluten molecules to align with each other to produce a strong, elastic matrix, resulting in long, sticky strands. The dough is also wetter than standard doughs, allowing the molecules to move more freely.
What happens during the kneading process in a standard dough?
The kneading stage is essential for getting an elastic dough that will rise and hold the air as it proves and bakes. When flour and water are mixed, two proteins within the flour — gliadin and glutenin — combine to form strands of gluten. The kneading process warms up the strands and allows the proteins to expand during fermentation. This encourages the molecules to bond making a more elastic dough with a better structure.
How to make no-knead bread
The best bit about making no-knead bread is you only need three ingredients and minimal equipment, although a Dutch oven will help.
Rather than taking the popular recipe published in the New York Times, I chose a slightly adapted version with a shorter rise time, by The Kitchn.
Ingredients
1 lb all-purpose flour (about 3 cups), plus extra for dusting
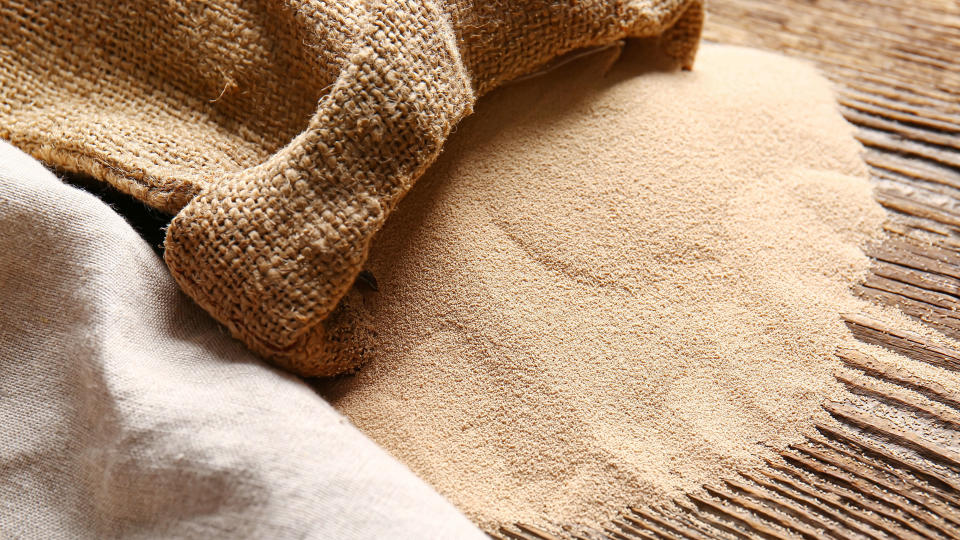
¾ teaspoon active dry yeast
2 teaspoons salt
1 ½ cups of lukewarm water
Equipment
Large mixing bowl
Saran wrap
Dutch oven with oven safe lid
Parchment paper
Kitchen towel
Mixing spoon or whisk
Step 1 — Make the dough
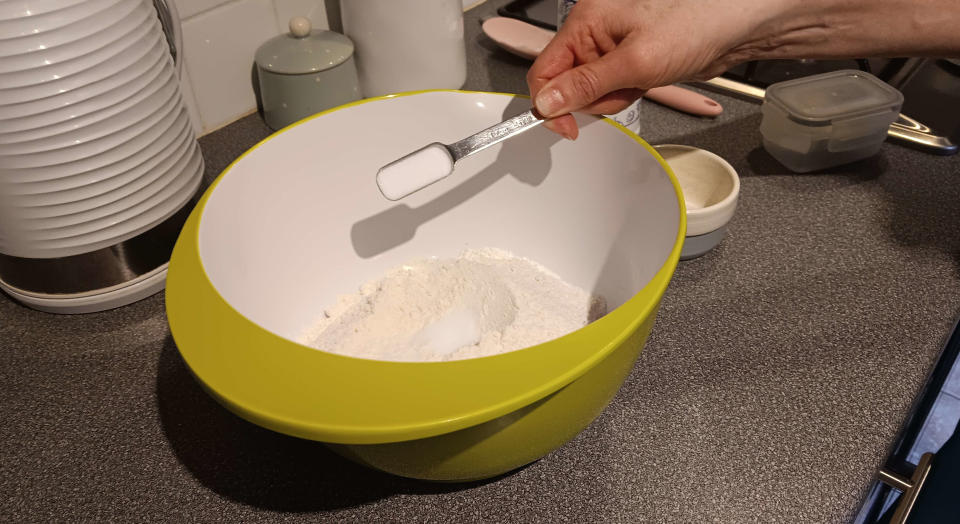
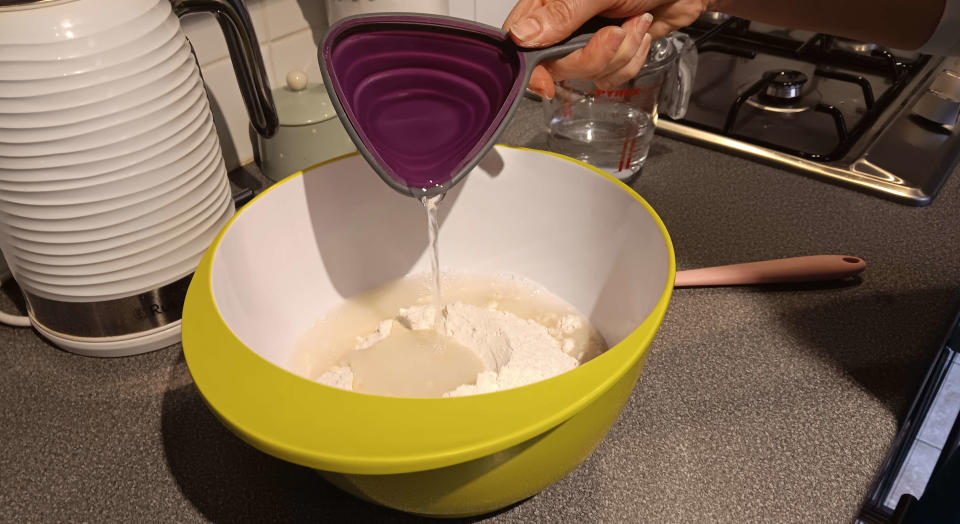
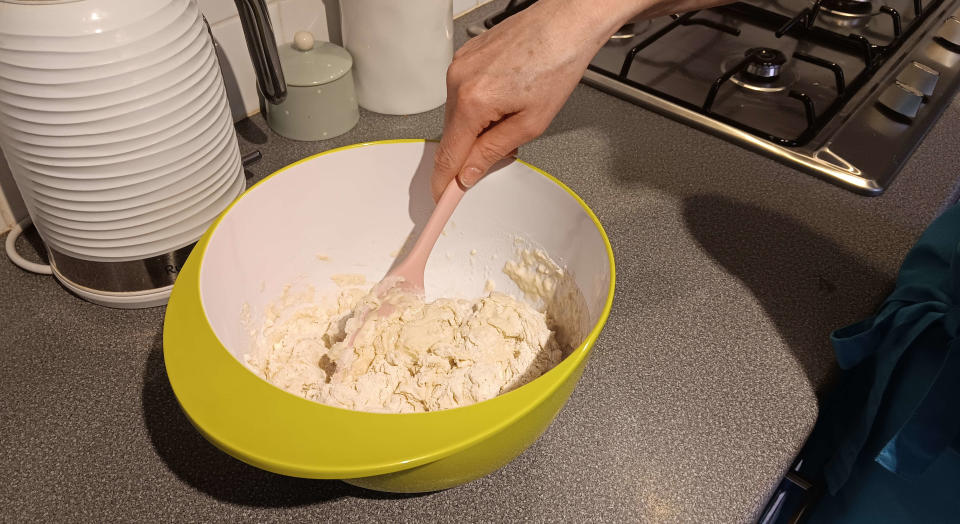
Combine the flour, yeast and salt in a large bowl and whisk to combine. Then, make a well in the center and add the lukewarm water. Mix the ingredients together, using your hands or a spoon, depending on how messy you’re happy to get, until it forms a shaggy and sticky dough. It doesn’t need to look perfect.
Tip
I always add the salt to one side, away from the yeast, as salt will slow down the yeast in its concentrated form. It’s one of the tips mentioned in How to bake the perfect loaf of bread — 11 top tricks to try at home.
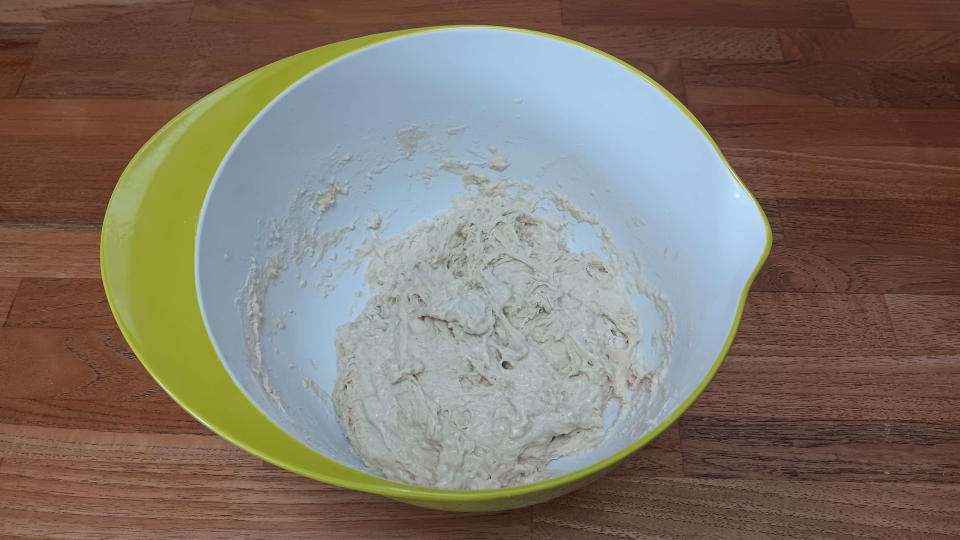
Step 2 — Leave it to rise
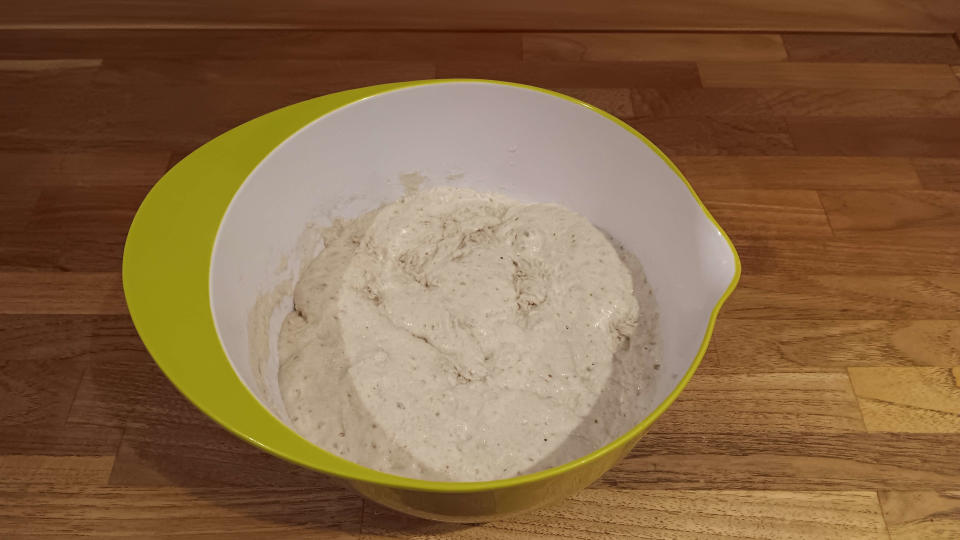
Cover the dough with saran wrap and leave it to rise in a warm place for 6 to 8 hours. It will be ready when the mixture has doubled in size and is bubbly.
Step 3 — Shape the dough
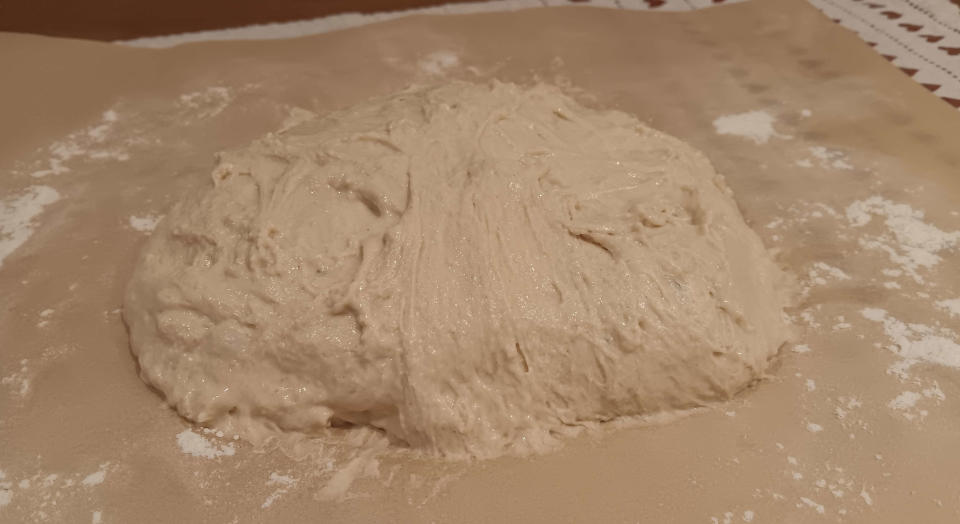
Lightly sprinkle flour on a large piece of parchment paper. Turn the dough out of the mixing bowl onto the surface and fold it over on itself at least once to form a neat shape. Then, cover with kitchen towel and let it rise for 1 hour.
I found this stage particularly tricky as the dough is very wet. I was almost tempted to add more flour, but held off as I wanted to try the recipe without any adaptations. And, as I mention above, the wet dough is part of the process in the no-knead method that helps the gluten work. However, as the dough was wet, I was reluctant to place kitchen towel over the top, as I knew it would stick and become messy to remove. Instead, I turned the mixing bowl upside down and used it as a cover.
Tip
The parchment paper needs to be large enough to house the dough when it’s transferred into the Dutch oven at the next stage. Mine was a bit on the small side and would have been better if it completely covered the sides of the oven.
Step 4 — Put the oven on
About 30 minutes before the hour is up, turn your oven on to 450°F, and place your Dutch oven inside with its lid on. This will allow both ovens to heat up in readiness to bake the dough. For this loaf 1 lb loaf, I used a 4.3-quart Dutch oven ($47, Amazon)
Step 5 — Place your dough in the Dutch oven
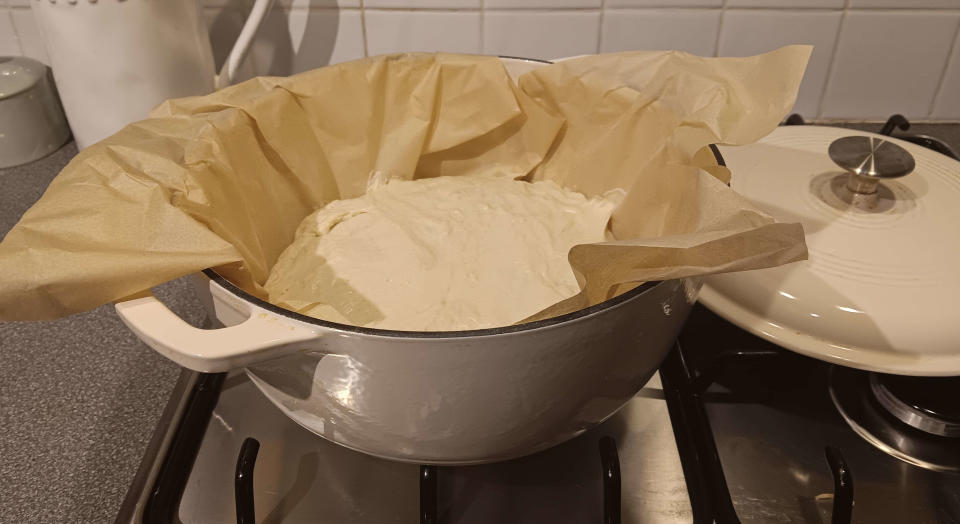
Once 60 minutes has passed, check to see if the shaped dough has nearly doubled in size. If it is ready, remove the Dutch oven from your oven, and carefully transfer the dough, including the parchment paper, into the pan. At this stage you can mark the top of the dough with a sharp knife to allow it to expand when baking. Then place the lid on the Dutch oven and return it to your oven for baking.
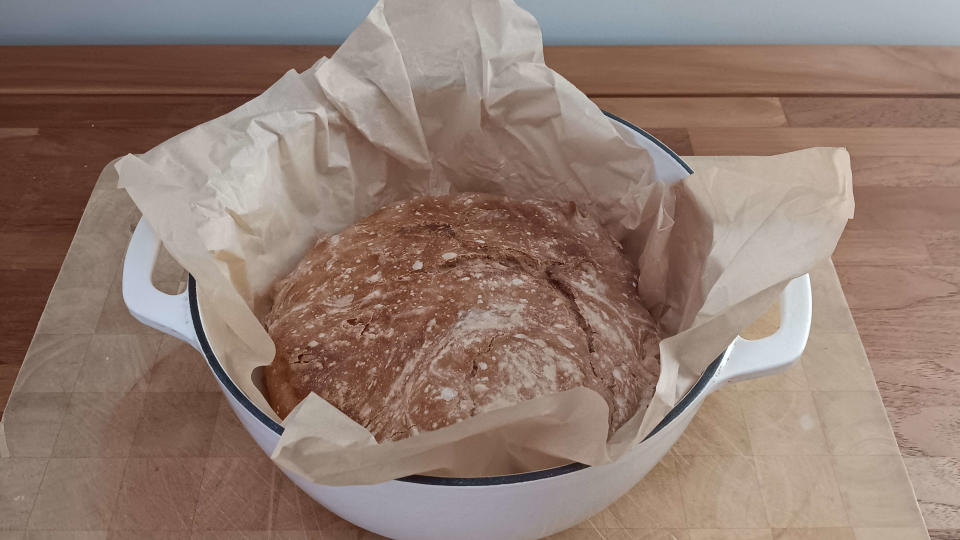
Step 6 — The first and second bake
Bake the bread for 30 minutes. Then, remove the lid and bake for a further 15 minutes. You can check if the bread is ready by inserting a thermometer into the center of the loaf — it’s ready when it reaches 210°F.
Tip
Don’t be tempted to lift the lid and peek inside when it’s baking. Although I found the dough particularly wet and I was unsure how it would bake, I held off from checking on it halfway through. I didn’t want to release the moisture that helps form the beautiful crusty loaf or reduce the temperature.
Step 7 — Be patient and let your un-knead bread cool
While it’s tempting to try your bread as soon as it’s baked, allow it to cool for 15 minutes before tucking in. I can guarantee it won’t be around for long. I enjoyed a slice buttered and topped with honey.
The last bite

My first attempt at making no-knead bread was a great success. Despite my initial scepticism about making a loaf that requires no kneading and abandoning my trusty KitchenAid stand mixer that I always rely on to knead dough, I was pleasantly surprised.
The crust is certainly crusty, and the crumb is light, with a taste resembling that of sourdough. Despite my fears of the dough being too wet, the result was a tasty loaf I’d be happy to make again.
If you're keen to try making no-knead bread you might be interested in purchasing My Bread, by Jim Lahey (hardcover version $26, Barnes & Noble).

