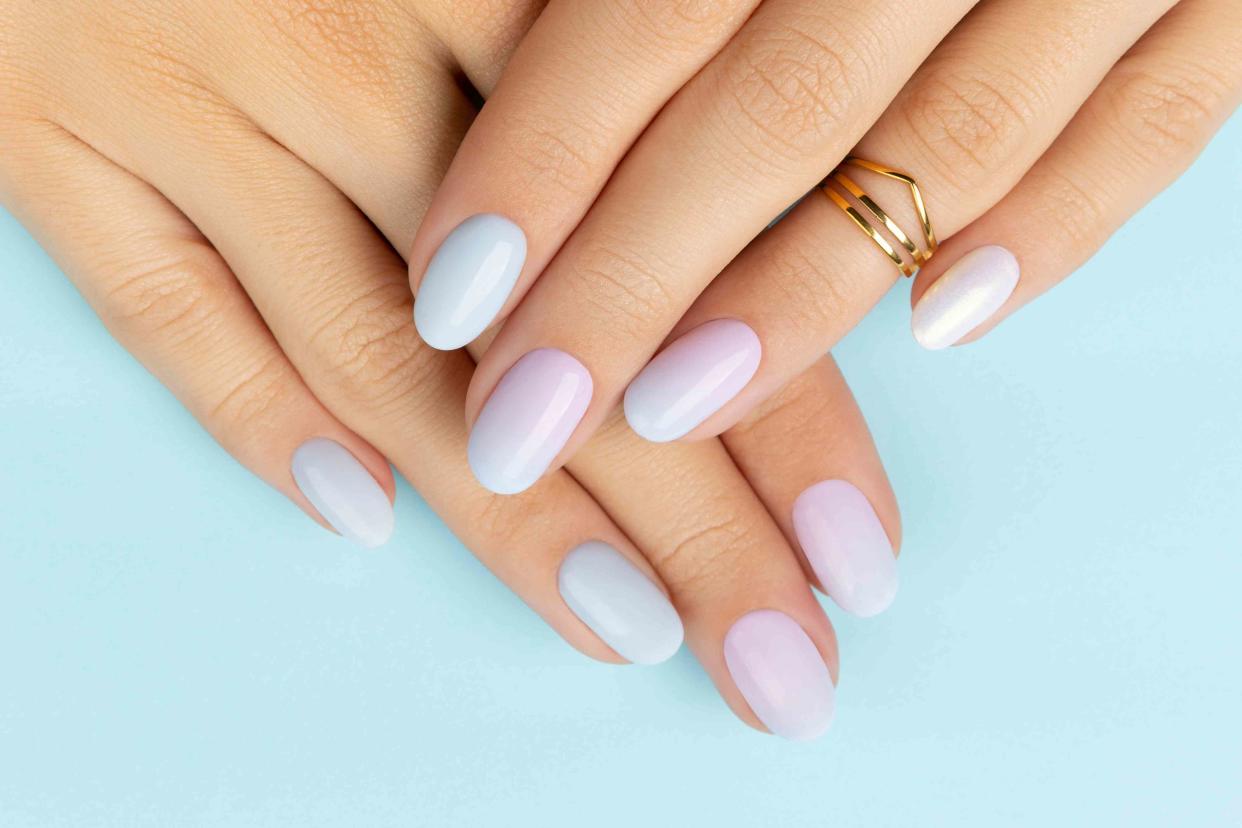
How to DIY Ombre Nails at Home Like a Pro

The chic design is deceivingly easy to achieve.
When it comes to DIY manicures, our skills are sufficient at best. Sure, painting nails isn’t exactly rocket science, but it requires an attention to detail and a steady set of hands we unfortunately lack. So when it comes to an at-home manicure, our ambitions usually start and end with a neat, single-color standard paint job. That is, until we learned how easy it is to DIY a chic ombre mani.
Ombre nails call for a color gradient on each and every nail, generally fading from light to dark/ While it’s traditionally done with shades within the same color family (think a blush pink to bubblegum to hot pink combo), the sky’s the limit—everything from green to yellow, white to blue, pink to orange, and everything in between. Best of all, the design, which is seriously impressive looking, is deceivingly easy to achieve.
How to Do Ombre Nails: A Step-by-Step Guide
Before we start, you’ll need a few tools: nail polish remover, a base coat, top coat, two to five shades of polish (preferably within the same color family), wedge makeup sponge, clean up brush, and scissors. We suggest laying down a couple of paper towels or rags to protect your workspace, and keeping all your tools within reach. Prep nails as needed before, including cuticle removal, trimming and shaping, buffing, removing old polish, and so on.
Cut Your Sponge: To keep things as clean (and easy!) as possible, you’ll want to cut the flat edge of the sponge to make it as wide as your nail—this will minimize the amount of polish that ends up on the skin around the nails.
Apply The Base Coat: Even if your nail polish has a builtin base coat, it’s always best to apply a separate layer of base coat to maximize wear time. Allow the coat to fully dry before the next step.
Prep Your Ombre Colors: Brush your chosen colors in straight lines along that cut side of the sponge. For best results, we suggest starting with the lightest color at the base of the wedge, with shades getting progressively darker as you go up the sponge. And no need to be afraid about staying within the lines—slightly overlapping the colors will actually help create a seamless fade.
Blot on Your Design: Gently blot the sponge onto the nail to transfer the polish. Keep in mind, you may need to blot several times to make sure the polish is transferred evenly.
Repeat Steps Three and Four: Repeat steps three and four for each nail as needed.
Apply Top Coat: Not only will a top help to prevent chips, but it also enhances ombre designs by helping the polishes blur together for a seamless fade.
Touch Up As Needed: Using a detail brush dipped in nail polish remover, remove any excess polish from the skin around and underneath the nails.
Apply Cuticle Oil: Once nails are fully dry, apply cuticle oil around the base to remoisturize the delicate skin. We suggest a fast-absorbing, nongreasy formula, like Olive & June’s Cuticle Serum ($30 for two).
For more Real Simple news, make sure to sign up for our newsletter!
Read the original article on Real Simple.


